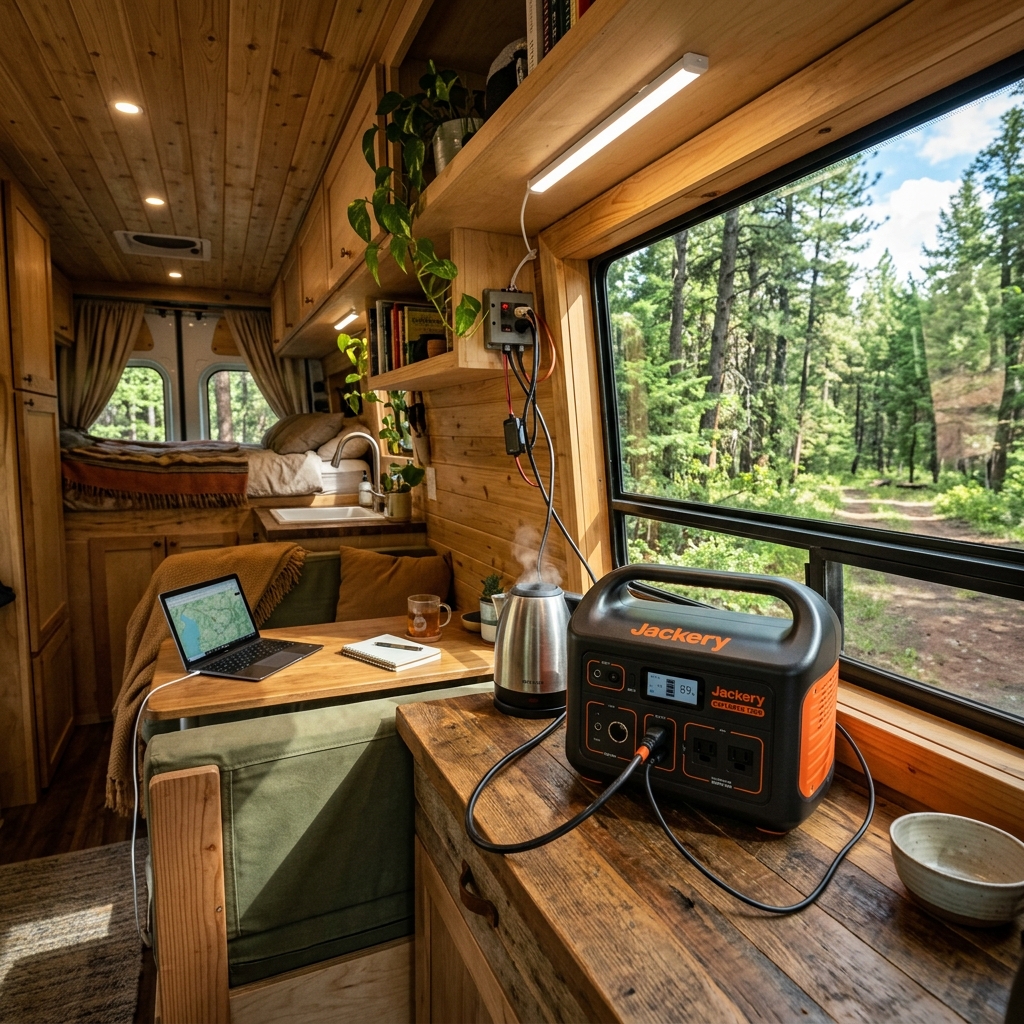
Direct answer: Choose an RV power station by its 12V DC outputs, inverter capacity, recharge paths, and the devices you actually run on the road.
Editorial note: WhichWatts is an independent comparison site. Prices, availability, specifications, and retailer promotions change frequently. Check the live product table and retailer page before buying.
RV Portable Power Stations with 12V DC Output
An RV power station earns its place when it can serve two electrical worlds at once: the low-voltage 12V DC side that runs lights, coolers, fans, and USB chargers, and the 110-120V AC side that runs inverter-fed appliances. It is not a replacement for a professionally installed RV electrical system, and it is not meant to be wired into your house battery, but it can act as a portable buffer that keeps the vehicle battery protected while you run selected devices.
Why 12V DC matters in an RV
A vehicle's 12V system is already low voltage, so a station that can output regulated 12V DC can power or recharge many of the same devices without going through the inverter. Skipping the inverter means fewer conversion losses, less heat, and often less fan noise. But the convenience only works if the station's socket matches your device's connector and current draw.
DC output, AC output, and USB are different things
| Output | What it does | Watch out for |
|---|---|---|
| 12V DC socket | Powers low-voltage devices and some coolers | Current limit and connector type vary by model |
| AC outlets | Run appliances through the inverter | Continuous and surge watts are separate ratings |
| USB-C / USB-A | Charge phones, tablets, and small accessories | Power-delivery wattage is separate from the 12V socket |
Do not add these ratings together. A station can supply 12V while the AC side is switched off, and the reverse is also true. Regulated 12V output helps devices that dislike voltage sag, but you still need to confirm the exact voltage and current limits from the manual.
Match the station to the RV load
- List your 12V devices and their running amps, then add a margin for startup current and cold-weather behaviour.
- Check the continuous AC output separately if you also plan to run a fridge, kettle, or induction plate.
- Compare every recharge path: shore AC, vehicle 12V, and solar input limits, and estimate how long each takes with the setup you actually carry.
- Confirm weight, storage temperature, and how the unit will be secured while the vehicle moves, because an unsecured station is a hazard in transit.
- Keep the vehicle battery isolated from high loads and follow the manual's charging rules rather than improvising a connection.
Recharge planning is half the decision
A station that powers your loads well but recharges slowly can become the weak link on a long trip. Work out the watt-hours you expect to use in a day, then compare that against the station's AC charging speed, the vehicle's 12V charging rate, and the solar input you can realistically deploy at your campsite. In most setups, the vehicle's 12V circuit is a slow top-up, not a fast charger, so plan solar or shore power for serious recharging.
Bottom line
Start with the power station sizing calculator to estimate your DC and AC energy budget, then compare current models by capacity, output, weight, and cost per watt-hour in the price comparison chart. Choose the station that covers your real loads and your recharge path, and verify the exact socket, connector, and current limits on the manufacturer page before buying.